The Cast Iron Masterclass: Seasoning, Care, and Ultimate Searing
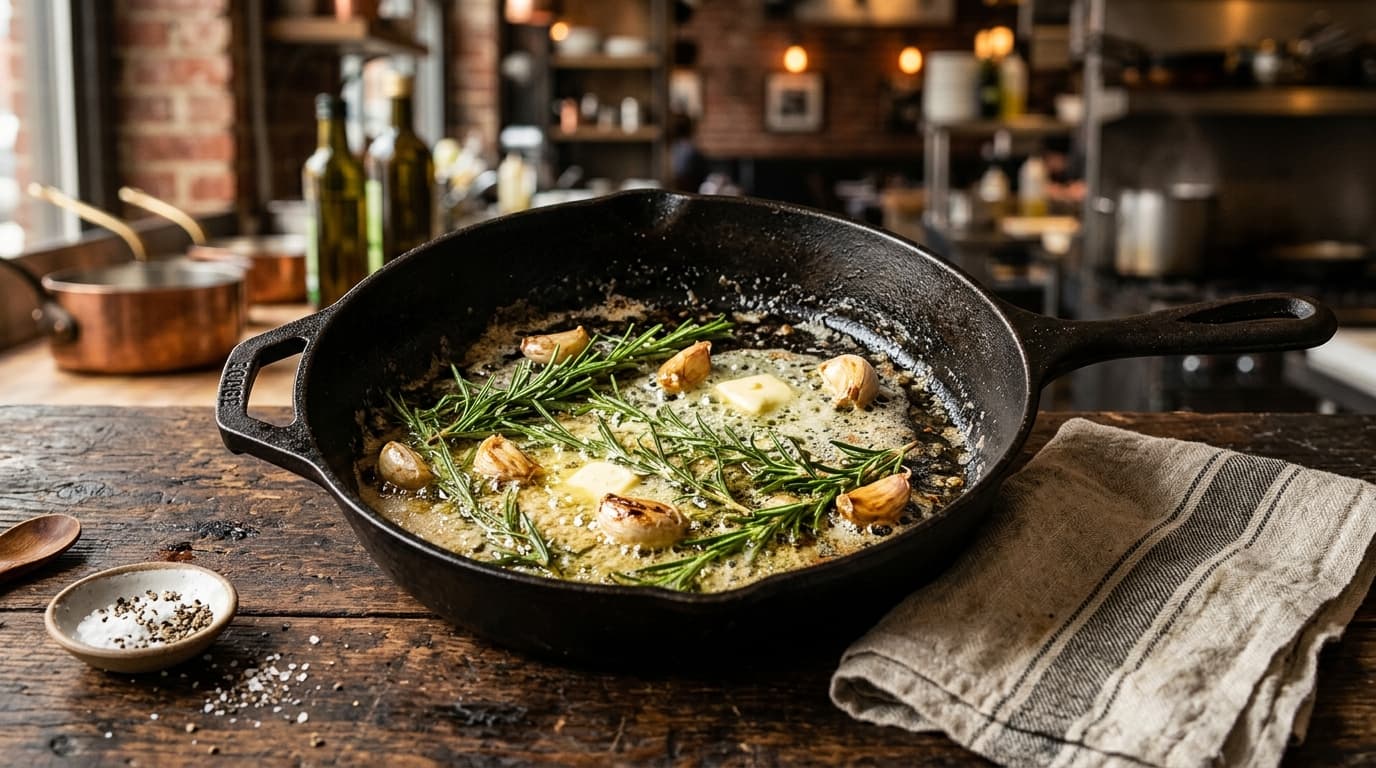
1. Why Cast Iron Remains the King of Cookware
In an era of disposable non-stick pans coated with synthetic chemicals that degrade in a few years, cast iron stands apart as an indestructible heirloom. A well-seasoned cast iron skillet is naturally non-stick, chemical-free, imparts iron to your food, and actually improves in performance the more you use it. But its greatest culinary superpower is thermal mass.
Unlike lightweight aluminum which drops in temperature the second a cold steak touches the surface, cast iron acts as a thermal battery. It absorbs enormous energy and radiates it evenly, triggering the Maillard reaction with ferocious intensity for that coveted mahogany crust you find at luxury steakhouses.
A heavy cast iron pan does not just cook food; it transforms everyday ingredients into deeply caramelized, restaurant-grade masterpieces through superior thermal retention.
2. The Chemistry of Seasoning: Polymerization Explained
Many home cooks mistakenly believe that seasoning is merely a layer of dried cooking oil or grease. In reality, seasoning is the result of polymerization and carbonization. When polyunsaturated fatty acids are heated past their smoke point in contact with porous iron, the individual fat molecules break down, cross-link with each other, and bond directly into the microscopic valleys of the metal.
This creates a smooth, hard, glass-like plastic polymer that is completely insoluble in water and naturally slick. Choosing the right fat is crucial for a durable seasoning:
- Grapeseed Oil: High smoke point (215°C/420°F) and abundant polyunsaturated fats. The gold standard for modern seasoning.
- Refined Avocado Oil: Super-high smoke point (270°C/520°F), excellent for high-heat durability.
- Crisco / Vegetable Shortening: The traditional favorite, creating a tough, resilient base coat.
- Oils to Avoid: Extra virgin olive oil (burns and creates sticky residue) and unrefined flaxseed oil (tends to flake over time).
3. Step-by-Step Oven Seasoning Ritual
Whether you are reviving a rusty thrift-store find or reinforcing your daily workhorse, follow this professional oven seasoning protocol:
- Scrub and Clean: Wash the skillet with hot water and dish soap. Dry thoroughly with a towel.
- Stovetop Preheating: Place on the stove over low heat for 5 minutes to evaporate every trace of moisture.
- Apply the Oil: Rub 1 tablespoon of grapeseed oil over the entire skillet — interior, exterior, handle, and bottom.
- Buff It Bone-Dry: Take a clean cotton cloth or paper towel and aggressively wipe off all the oil until the skillet looks completely dry and matte. If you leave even a thin film, it will pool into sticky brown splotches.
- Bake Upside Down: Place the skillet upside down in an oven preheated to 230°C (450°F) for 60 minutes. Place a sheet of foil on the lower rack to catch any potential stray drops.
- Slow Cool: Turn off the oven and let the skillet cool down completely inside the oven without opening the door.
- Repeat: Apply 3 to 4 coats for an impenetrable, mirror-like foundation.
4. Debunking the Myths: Soap, Acids, and Rust
Decades of outdated folklore have terrified home cooks into treating cast iron like fragile china. Let us set the record straight once and for all:
- Myth #1: 'Never use dish soap.' FALSE. Modern dish soaps (like Dawn) do not contain harsh lye. They will break down surface grease but cannot dissolve polymerized seasoning. Wash with soap whenever necessary!
- Myth #2: 'Cooking tomatoes or wine will ruin the pan.' PARTLY TRUE. While you should not simmer a bolognese sauce for 4 hours in a newly seasoned pan, a quick pan sauce with wine or tomato paste is completely harmless on a well-established patina.
- Myth #3: 'Cast iron heats evenly.' FALSE. Cast iron actually conducts heat relatively slowly, creating hot spots. The secret is preheating: always give your skillet 5-10 minutes over low-to-medium heat before cooking.
5. Daily Cleaning & Lifelong Maintenance Routine
After cooking, let the pan cool slightly until warm to the touch. Run under warm water and scrub with a stiff brush or a chainmail scrubber. For stubborn stuck-on bits, add 2 tablespoons of coarse kosher salt and scrub with a folded paper towel as a natural abrasive.
Always return the clean skillet to the stove over medium heat for 2 minutes until dry. While warm, apply 3 drops of oil, buff vigorously with a towel, and store in a dry cabinet.
6. Masterclass Cooking: The Reverse Sear Technique
The crowning glory of cast iron cooking is the reverse sear for thick bone-in ribeyes or New York strip steaks. Season your steak with coarse salt and slow-roast in an oven at 110°C (225°F) on a wire rack until the internal temperature reaches 45°C (115°F) for rare/medium-rare.
Preheat your cast iron skillet over high heat until lightly smoking. Add 1 tablespoon of high-heat oil and sear the steak for 60 seconds per side. In the final minute, toss in 2 tablespoons of cold butter, crushed garlic cloves, and fresh rosemary sprigs, tilting the pan and continuously spooning the foaming aromatic butter over the steak for a jaw-dropping crust.
Professional Chef Secrets & Pro Tips
Elevating your culinary skills from a standard home cook to an instinctual chef requires understanding not just what recipes say, but why ingredients behave the way they do. Professional kitchens operate on efficiency, mise en place, and sensory awareness. Always taste your food at every stage of cooking, adjust seasoning gradually, and pay attention to auditory cues — like the sound of sizzling or the gentle bubbling of a simmer.
- Mise en Place: Chop, measure, and organize all ingredients in small bowls before turning on the heat. This prevents burning and frantic mistakes.
- Salt Management: Salt ingredients in layers rather than solely at the end. Salt draws moisture, enhances sweetness, and penetrates deeply into proteins.
- Temperature Control: Preheat your pans and ovens properly. Adding cold ingredients to a lukewarm pan causes sticking and steamed, soggy food rather than crisp golden browning.
- Acid Balance: When a dish tastes flat despite having enough salt, it usually lacks acid. A splash of lemon juice, sherry vinegar, or white wine instantly brightens heavy flavors.
Common Mistakes to Avoid & Troubleshooting
Even experienced cooks occasionally run into hurdles. Here are the most frequent pitfalls and how to easily remedy them in your own kitchen:
- Overcrowding the Pan: Trapping steam between food items prevents the Maillard reaction. Cook in batches if necessary to keep high heat circulating.
- Rushing the Rest Period: Cutting into roasted meat or baked breads immediately after cooking causes all trapped juices and steam to pour out, resulting in dry texture.
- Using Dull Blades: A dull knife requires excessive force and is significantly more dangerous than a razor-sharp blade that glides effortlessly through ingredients.
- Neglecting Residual Heat: Food continues to cook for 3-5 minutes after leaving the pan. Remove delicate items like eggs or fish just slightly before desired doneness.
Frequently Asked Questions (FAQ)
Q: How do I store leftovers without sacrificing texture? A: Cool food completely to room temperature before covering. Trapped condensation inside warm containers makes crispy skins soggy and accelerates spoilage.
Q: What is the best way to develop an intuitive palate? A: Taste components raw, during cooking, and after resting. Keep a small spice tasting notebook and experiment with one new herb or spice each week.