The Art of Fermented Hot Sauces: Crafting Probiotic Fire
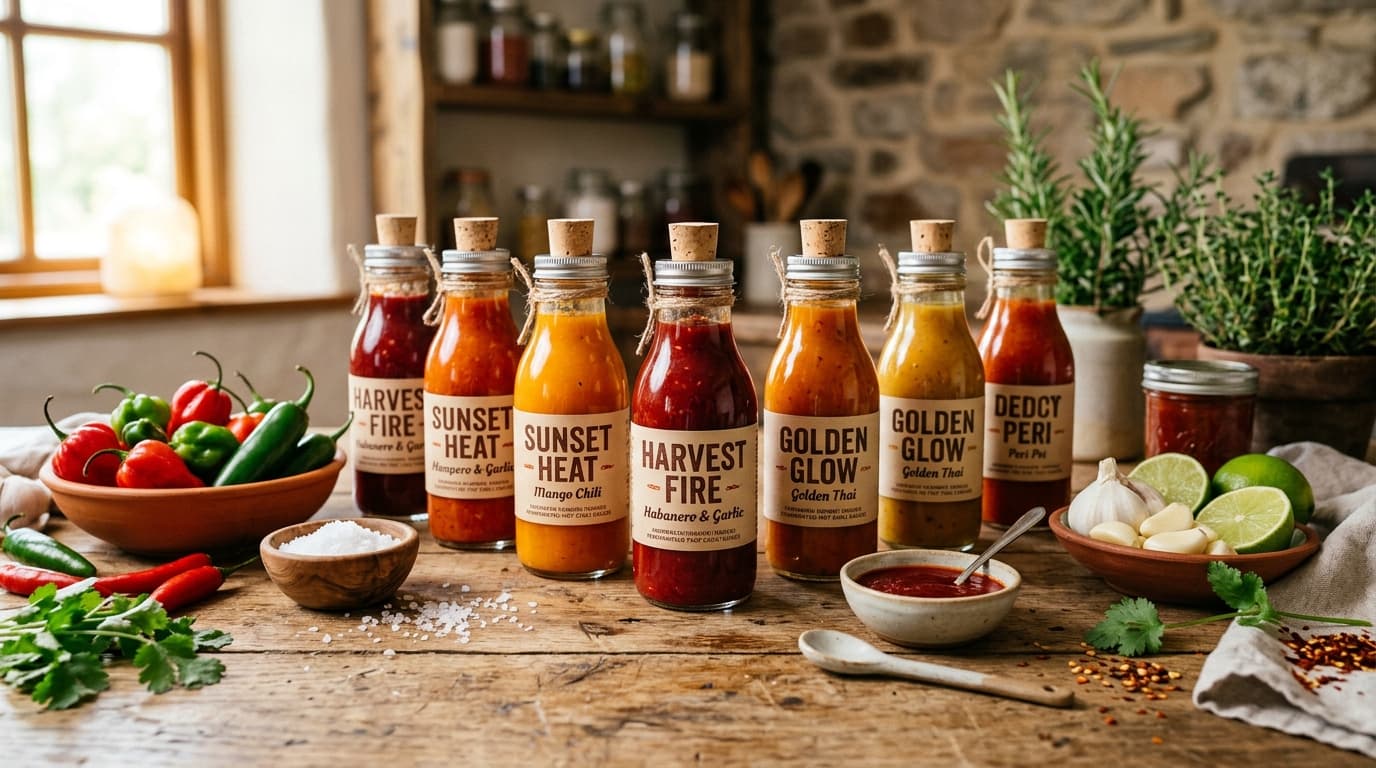
1. The Biological Magic of Lacto-Fermentation
Standard supermarket hot sauces rely on large quantities of distilled white vinegar to chemically acidify cooked chili peppers. While this creates sharp, pungent heat, it completely flattens the nuanced botanical flavors of the peppers. Fermentation, however, uses living Lactobacillus bacteria to transform the pepper sugars into lactic acid.
This enzymatic breakdown softens the violent prick of capsaicin, unlocking hidden notes of citrus, florals, earthiness, and profound savory umami that elevate tacos, eggs, grilled meats, and marinades.
Lacto-fermentation does not simply preserve heat — it cultivates complexity, turning raw fiery chilis into living, tangy, probiotic elixir.
2. The Chemistry: The 3% Salinity Rule
The foundation of safe, mold-free fermentation is the salt ratio. Salt suppresses putrefactive bacteria and molds while creating the exact osmotic environment in which lactic acid bacteria flourish.
- The Total Weight Formula: Place your empty vessel on a digital scale and tare it. Add chopped peppers, garlic, ginger, and non-chlorinated water. Calculate exactly 3% of that combined weight in pure non-iodized sea salt or kosher salt.
- Water Purity: Never use chlorinated tap water, as chlorine acts as an antibacterial agent that kills beneficial wild cultures. Use filtered spring water or boiled and cooled water.
- Salt Purity: Avoid table salt containing anti-caking agents or iodine, which will cloud the brine and inhibit healthy fermentation.
3. Vessel Anatomy: Submergence & Airlocks
The primary rule of vegetable fermentation is: Under the brine, everything is fine. Exposure to oxygen is what allows wild molds and Kahm yeast to take root on the surface.
- Glass Weights: Use lead-free glass fermentation weights to keep every slice of pepper submerged 2 cm below the liquid line.
- Airlock Lids: Silicone one-way valves or 3-piece water airlocks allow carbon dioxide to escape without letting ambient oxygen into the jar.
- The Burping Alternative: If using standard mason jars, gently loosen the lid once a day during peak activity (Days 3-7) to release gas pressure.
4. The 30-Day Fermentation Timeline
Store your ferment in a dark cupboard at 18°C-22°C (65°F-72°F). Here is what unfolds during the fermentation lifecycle:
- Days 1–3 (Initiation): Leuconostoc mesenteroides begins consuming dissolved sugars and producing carbon dioxide bubbles.
- Days 4–14 (Acidification): Lactobacillus plantarum takes command. The brine turns pleasantly milky and cloudy, and the pH plunges below 4.0.
- Days 15–30 (Maturation): Secondary flavor compounds develop, smoothing out raw heat into a complex, wine-like sour bouquet.
5. Blending, Emulsifying, and Bottling
Strain the peppers and reserve the precious probiotic brine. Transfer peppers and garlic to a high-speed blender. Add 2 tablespoons of raw apple cider vinegar for brightness and blend on high for 3 full minutes.
Slowly drizzle in reserved brine until your sauce reaches the perfect pourable consistency. To prevent the sauce from separating in the fridge, add 1/8 teaspoon of xanthan gum while blending to create a silky, glossy commercial-grade emulsion.
Professional Chef Secrets & Pro Tips
Elevating your culinary skills from a standard home cook to an instinctual chef requires understanding not just what recipes say, but why ingredients behave the way they do. Professional kitchens operate on efficiency, mise en place, and sensory awareness. Always taste your food at every stage of cooking, adjust seasoning gradually, and pay attention to auditory cues — like the sound of sizzling or the gentle bubbling of a simmer.
- Mise en Place: Chop, measure, and organize all ingredients in small bowls before turning on the heat. This prevents burning and frantic mistakes.
- Salt Management: Salt ingredients in layers rather than solely at the end. Salt draws moisture, enhances sweetness, and penetrates deeply into proteins.
- Temperature Control: Preheat your pans and ovens properly. Adding cold ingredients to a lukewarm pan causes sticking and steamed, soggy food rather than crisp golden browning.
- Acid Balance: When a dish tastes flat despite having enough salt, it usually lacks acid. A splash of lemon juice, sherry vinegar, or white wine instantly brightens heavy flavors.
Common Mistakes to Avoid & Troubleshooting
Even experienced cooks occasionally run into hurdles. Here are the most frequent pitfalls and how to easily remedy them in your own kitchen:
- Overcrowding the Pan: Trapping steam between food items prevents the Maillard reaction. Cook in batches if necessary to keep high heat circulating.
- Rushing the Rest Period: Cutting into roasted meat or baked breads immediately after cooking causes all trapped juices and steam to pour out, resulting in dry texture.
- Using Dull Blades: A dull knife requires excessive force and is significantly more dangerous than a razor-sharp blade that glides effortlessly through ingredients.
- Neglecting Residual Heat: Food continues to cook for 3-5 minutes after leaving the pan. Remove delicate items like eggs or fish just slightly before desired doneness.
Frequently Asked Questions (FAQ)
Q: How do I store leftovers without sacrificing texture? A: Cool food completely to room temperature before covering. Trapped condensation inside warm containers makes crispy skins soggy and accelerates spoilage.
Q: What is the best way to develop an intuitive palate? A: Taste components raw, during cooking, and after resting. Keep a small spice tasting notebook and experiment with one new herb or spice each week.